Tag: interconnected photoelectric smoke alarm

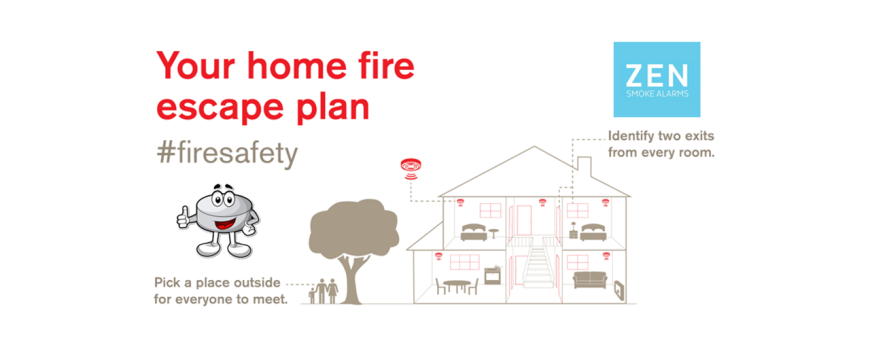
There is no point waiting until a fire occurs before figuring out what to do and where to go – especially when family members are involved. Having a well developed and rehearsed home fire safety plan will provide loved ones with crucial time to escape, and could certainly mean the difference between life and death. This blog post shows how to develop a home fire safety plan and demonstrates that it needn’t be an onerous task.

Develop a floor plan and identify the emergency exit path

The objective of a home fire safety plan is to provide the occupants of a dwelling sufficient knowledge and skill to escape a burning building in an efficient and timely manner. This is achieved by a) documenting the required information, b) communicating the information and then c) practicing the home fire safety plan.

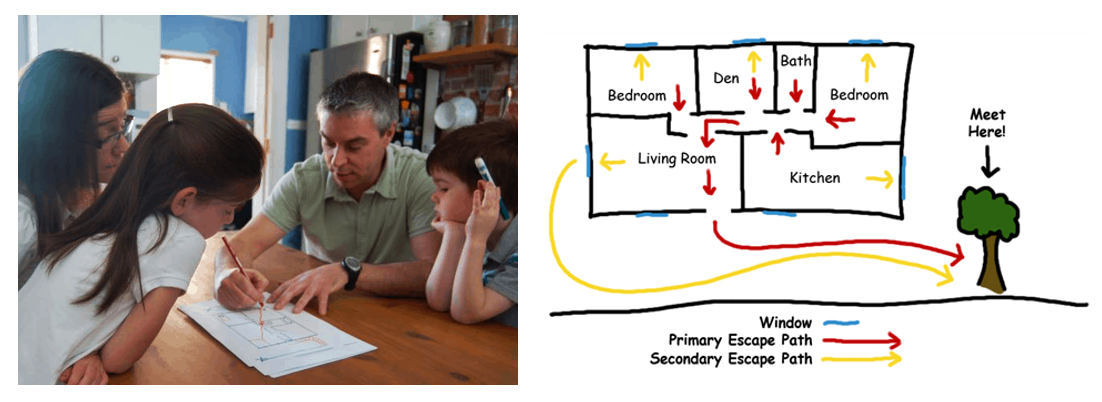
The first step in developing a home fire safety plan is to draw a basic floor plan / map of your house, including key locations such as each person’s bedroom. Review the floor plan collectively with all occupants of the dwelling – identify both the primary and secondary path of exit so there are two means of escape for each person in the event of a fire. Some things to consider – are there obstacles to negotiate such as large furniture? Are there ‘landmarks’ along the way which could assist if smoke has reduced visibility to zero? Are there people in the home of differing ages, mental acuity or reduced physical mobility? If so it may be worth assigning a specific ‘buddy’ to assist these people. Nominate an agreed muster point where everyone is to gather at a safe distance having evacuated the building.

Practice the home fire safety plan

It’s one thing to talk about it, it’s another thing to actually do it. As the famous Russian playwright Anton Chekhov once said, “Knowledge is of no value unless you put it into practice.” Rehearse the home fire safety plan and physically practice an escape with ALL members of the household, at least bi-annually. During the rehearsal, a mobile phone timer could be used to create a sense of urgency, reduced visibility due to thick smoke can be simulated by placing a blindfold on the occupant and have them attempt to navigate the exit path in a controlled manner. Once outside the building, everyone should assemble at the fire safety plan’s designated muster point and perform an after action review to identify any learnings and/or improvement opportunities. Time taken to escape the building can be recorded and used as a performance benchmark for future rehearsals.

Interconnected smoke alarms and the home fire safety plan

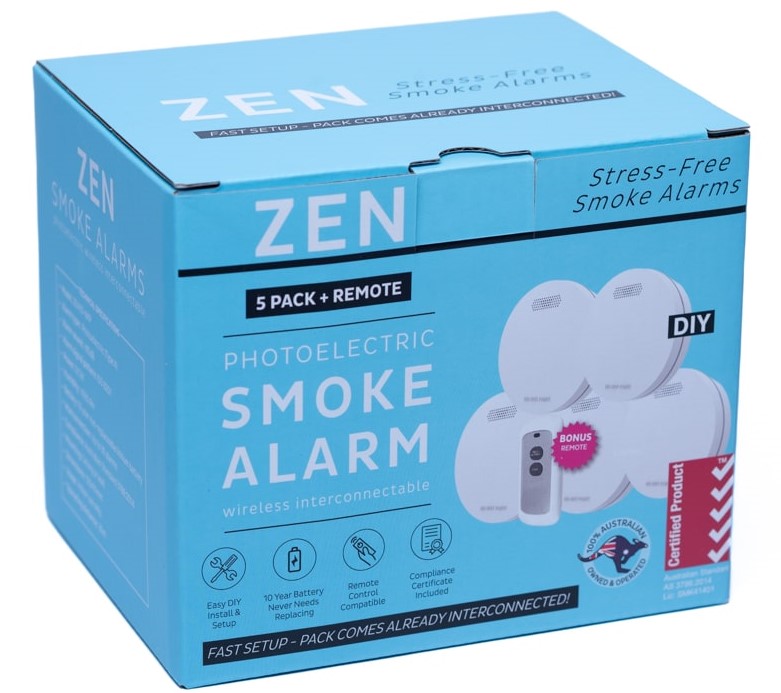
Because interconnected photoelectric smoke alarms provide greater early warning and response time to a fire, they should be installed within your home and form part of the overall home fire safety plan. Ensure they are installed in every bedroom, communal hallway outside the bedrooms and if in a multi-story dwelling then at least one on every floor. During the rehearsal of the home fire safety plan, test the interconnected photoelectric smoke alarms so all actually activate, and everyone becomes acquainted with their sound and meaning. Doing so may help lessen the sense of surprise or shock in a real-life fire event, and it is particularly important for young children who may not immediately associate the sound of a smoke alarm with danger.

Fire safety essentials within the home fire safety plan

Rehearsing your home fire safety plan is a great opportunity to impart some basic fire safety essentials. You may wish to document the following information in your home fire safety plan and ensure it is understood by all;

  • Immediately phone triple zero 000 for Australian emergency services, including the fire department.
  • Stay low to the ground to minimize inhaling toxic smoke and fumes which generally rise.
  • Prior to opening a door, test it using the back of the hand to ascertain if there is heat on the other side.
  • Close doors (but don’t lock) as you pass through them to limit air supply and possible expansion of the fire.
  • Once outside at the designated muster point perform a head count. Do not head back inside the burning building for any reason.

Conclusion

An effective home fire safety plan should be specific to each dwelling, and the occupants should be intimately familiar with it. Review the home fire safety plan twice a year and rehearse escaping from the building so that knowledge is put into practice. Ensure interconnected photoelectric smoke alarms are included and test these during the practice-run. Basic fire safety essentials should also be added to the home fire safety plan and practiced – doing so will increase the opportunity for your loved ones to successfully escape a burning home in a real-life emergency event.

Ever wondered how to physically attach a smoke alarm onto your ceiling? Click here to watch this short video – it demonstrates how easy it is! A key benefit of our wireless lithium battery powered smoke alarms is that there is no hardwiring involved – this means they can be legally installed by home owners without needing an electrician.

Checklist for how to attach a smoke detector onto the ceiling

Checklist of what’s needed:

  • Pencil
  • Hammer
  • Drill with 5mm drill bit
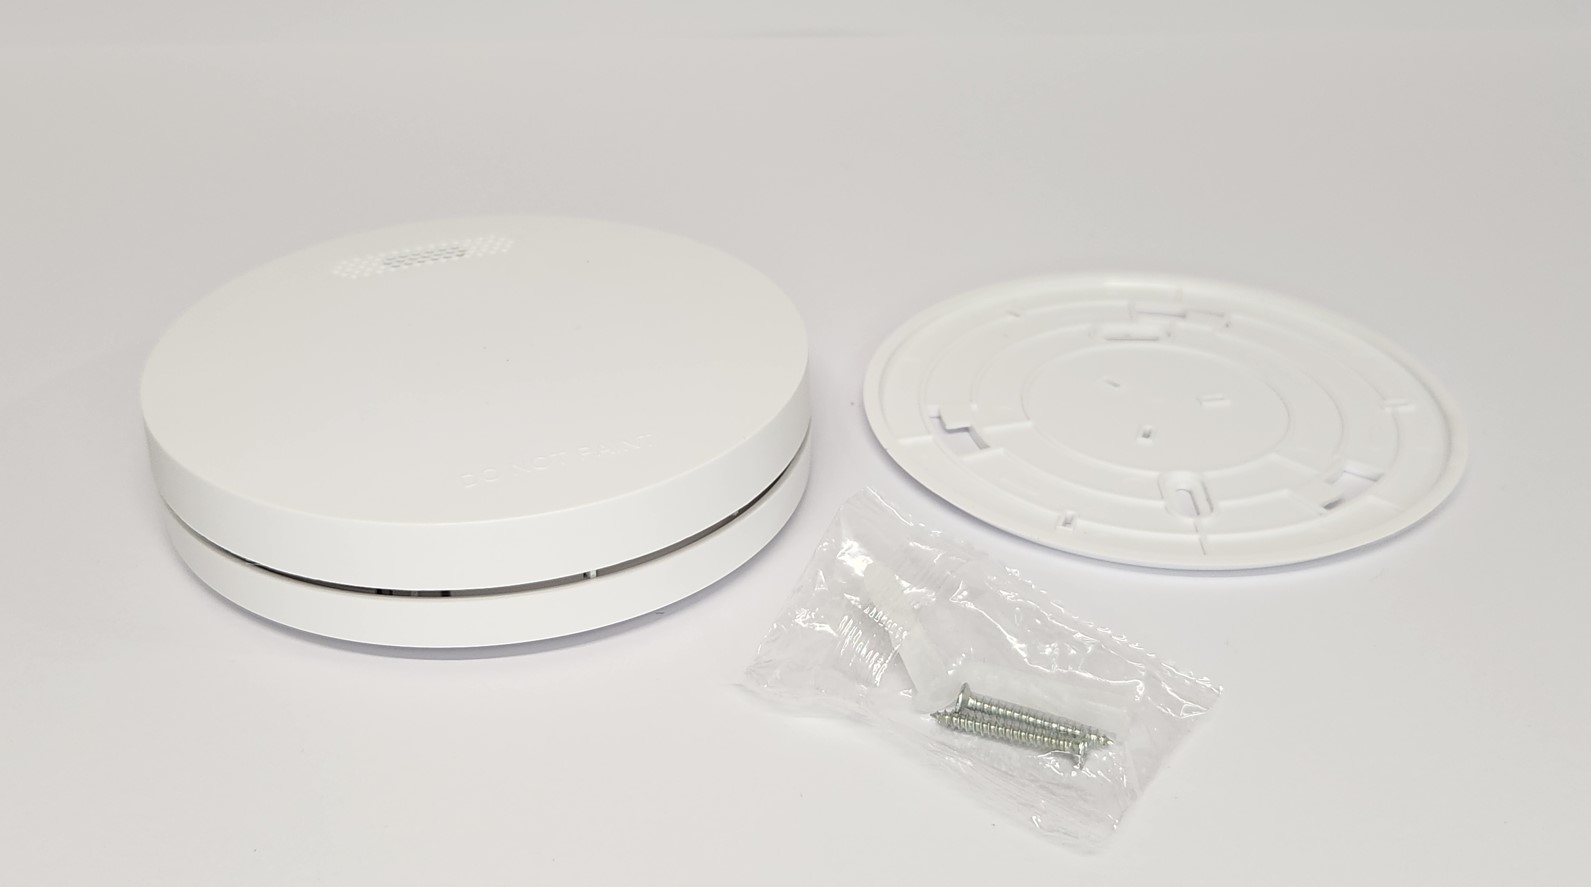
  • Screws and anchor plugs x 2 (included with our smoke alarms)
  • Smoke alarm and its mounting bracket

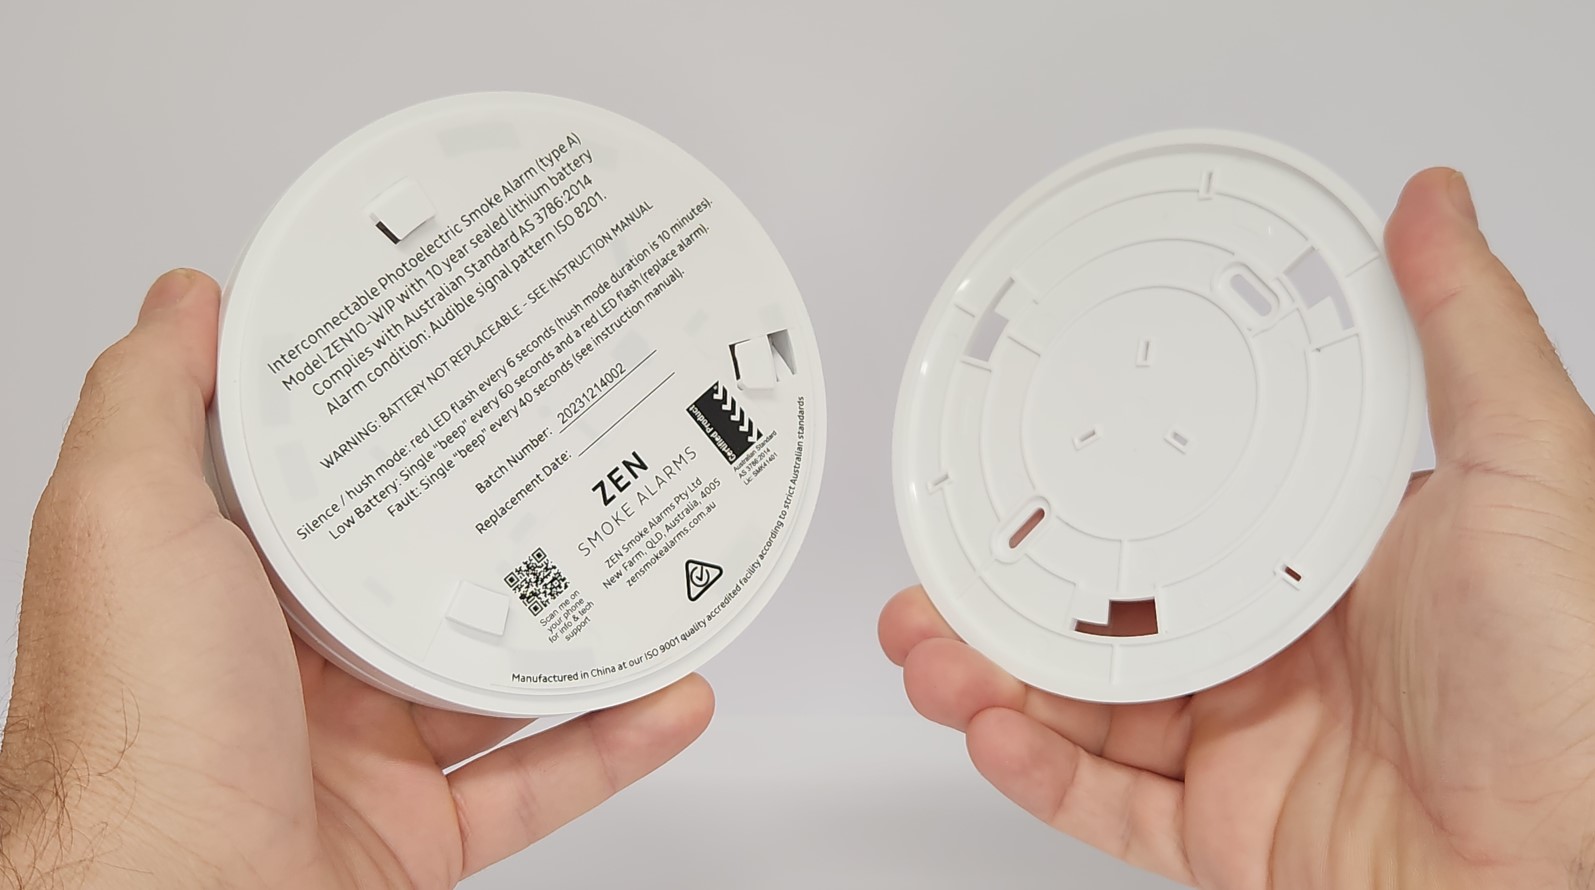
Twist the mounting bracket to remove it from the smoke detector

STEP 1: Twist the mounting bracket to remove it from the rear of the smoke alarm.

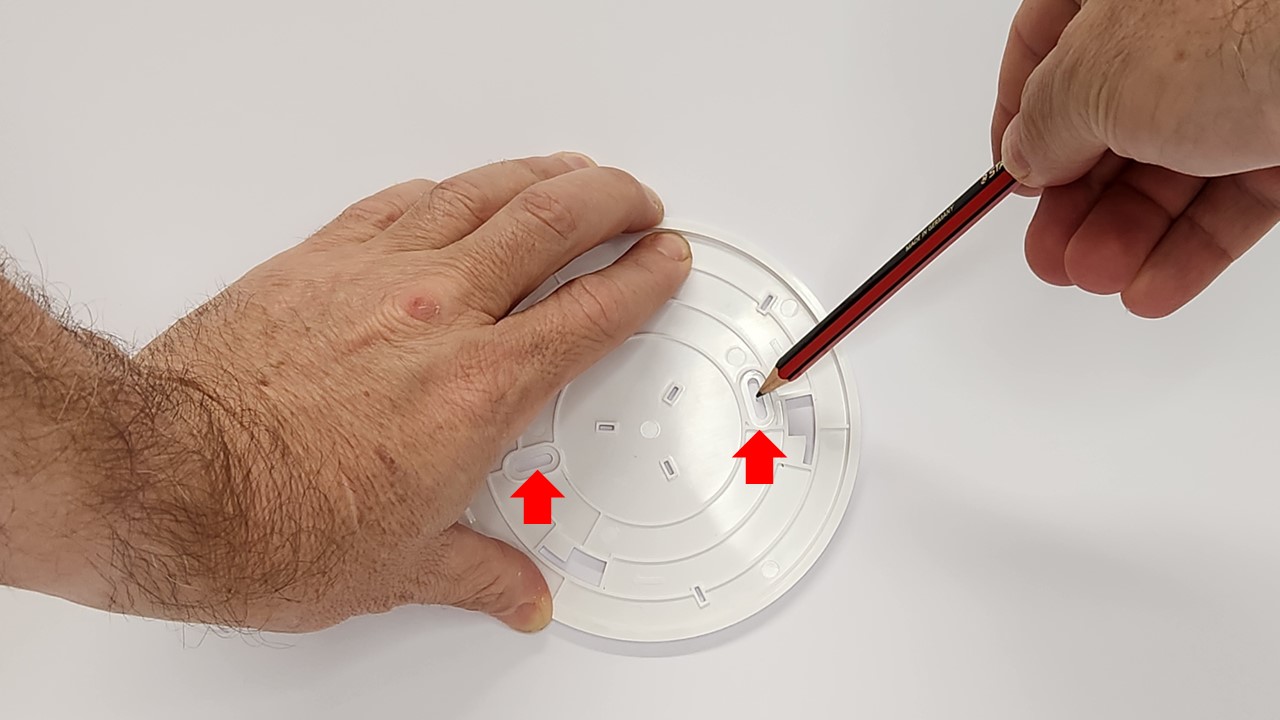
Use a pencil to mark location of the smoke detector's mounting bracket slots on the ceiling

STEP 2: Locate the mounting bracket in your chosen position on the ceiling. Use a pencil to mark the location of the two mounting bracket slots on the ceiling. Refer to general guidance at the end of this article about where best to locate your smoke detector so that it is compliant with legislation.

Use a 5mm drill bit to drill two pilot holes into the ceiling for the smoke detector bracket

STEP 3: Use a 5mm drill bit to drill a pilot hole at each location marked on the ceiling. Now insert the anchor plugs. If necessary give the anchor plugs a tap with a small hammer so they are in nice and snug inside the drilled holes. Now use the two screws to attach the mounting bracket to the chosen position.
Important – don’t over-tighten the screws as this may slightly distort the shape of the plastic mounting bracket (and prevent the smoke alarm from being able to ‘lock’ into it).

Turn clockwise to lock the smoke detector onto the mounting bracket on the ceiling

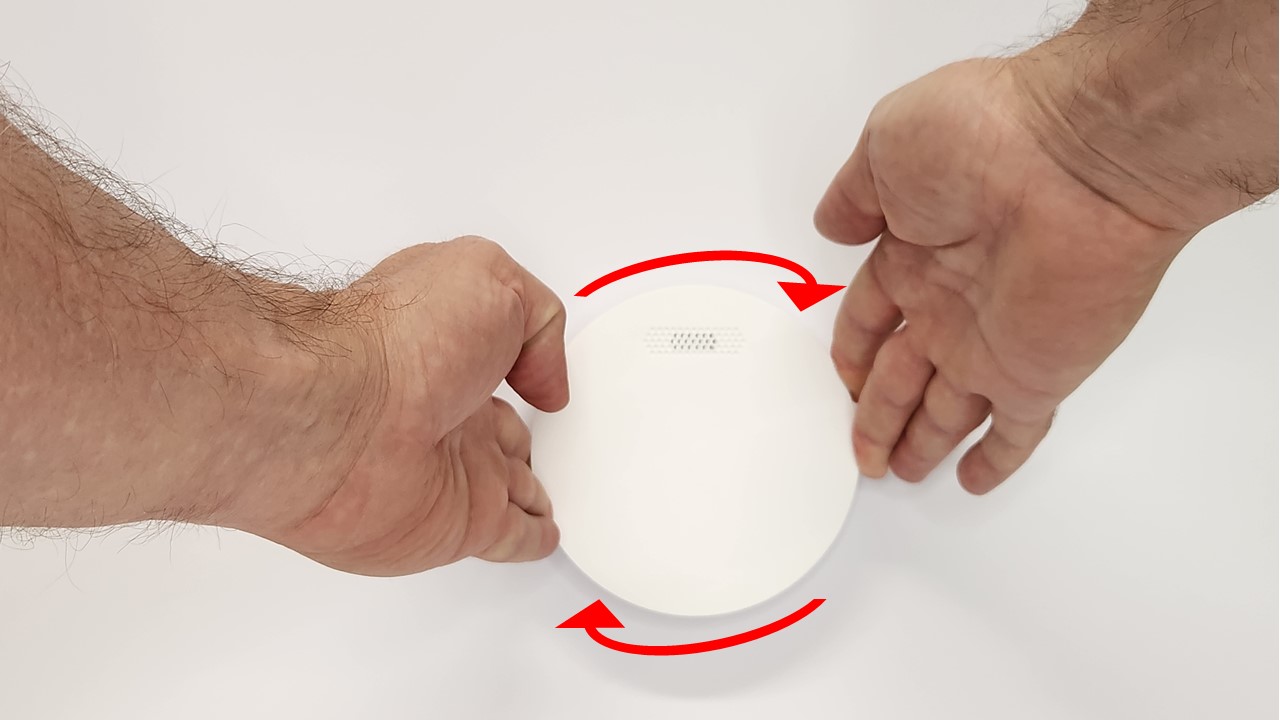
STEP 4: Attach the smoke alarm to the mounting bracket and turn clockwise to lock it into place. By attaching the smoke alarm to the mounting bracket, the on/off switch is engaged and the alarm will be powered on (if it has not been switched on manually already).

Press the test button on the smoke detector to ensure it is interconnected and working properly

STEP 5: Press the test button to ensure you smoke alarm is working properly. If you have more than one interconnected smoke detector, then the others in the same group should also activate within approximately 10-15 seconds (this is normal). Allow all the smoke alarms to finish their full test cycle without pressing the hush button – they will all stop automatically after approximately 10-15 seconds.

Where should I install interconnected smoke detectors?

As general guidance, smoke detectors in QLD should be placed inside every bedroom, interconnecting hallway outside the bedrooms, and on every level of a multi-story dwelling (refer to QLD Fire and Emergency Services for further info). Additionally, smoke detectors should not be installed within 30cm from the edge of a wall, within 30cm from a light fixture, 40cm from an air con vent and also within 40cm from a ceiling fan blade. It is preferable to install smoke detectors on the ceiling, as opposed to the wall.

Safety note – Prior to undertaking any home maintenance, it is a good idea to have suitable personal protective equipment (PPE) for the task at hand i.e. safety glasses when operating a drill. If using a ladder to reach the ceiling it may be helpful to have someone hold the ladder steady whilst you are standing on it. 240v smoke alarms which are hardwired to mains power (i.e. not the ones in this article) should always be installed by a qualified electrician. If replacing a 240v hardwired smoke alarm in Queensland it must be replaced with a 240v hardwired smoke alarm.

Want to know more? Check us out below – we love talking smoke alarms!

Photoelectric Smoke Alarms Australia – Shop