

Ever wondered how to physically attach our ZEN Smoke Alarms onto your ceiling? You won’t believe how easy it is! A major benefit of ZEN wireless 10-year battery powered smoke alarms is that there is no electrical wiring involved – this means they can be installed without an electrician. ZEN photoelectric smoke alarm bundle packs will even arrive to you already interconnected together as a group – no need to sync them up as we’ve done it for you!
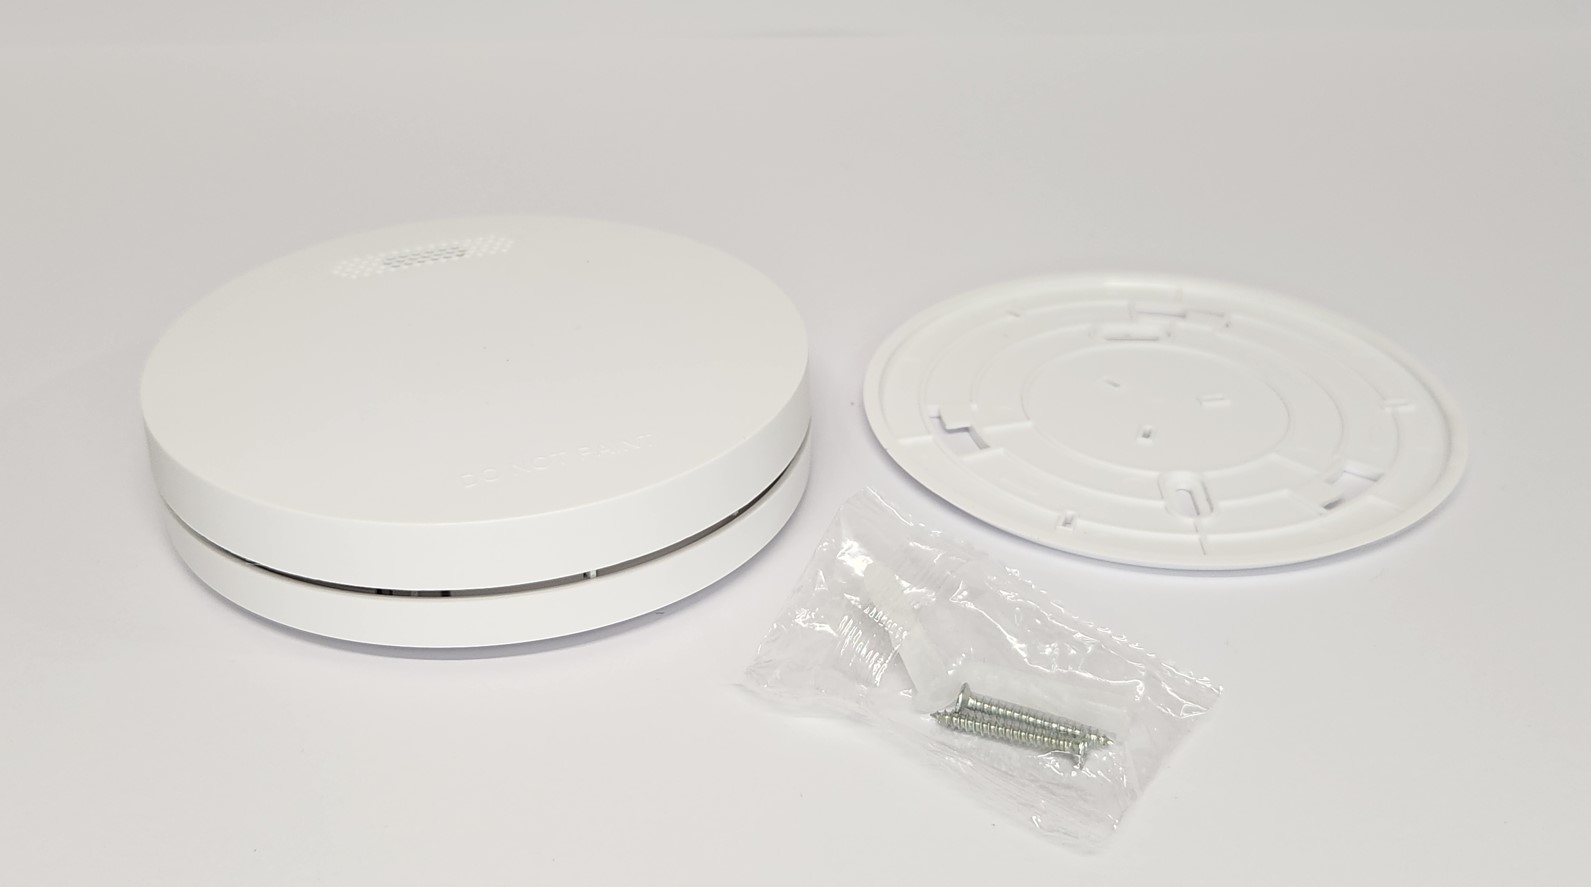
ZEN Smoke Alarms mounting bracket and screws (included)
Checklist:
- ZEN wireless smoke alarm and its accompanying mounting bracket
- Screws and anchor plugs (included with our ZEN Smoke Alarms)
- Screwdriver or a cordless drill with 5mm drill bit
- Pencil
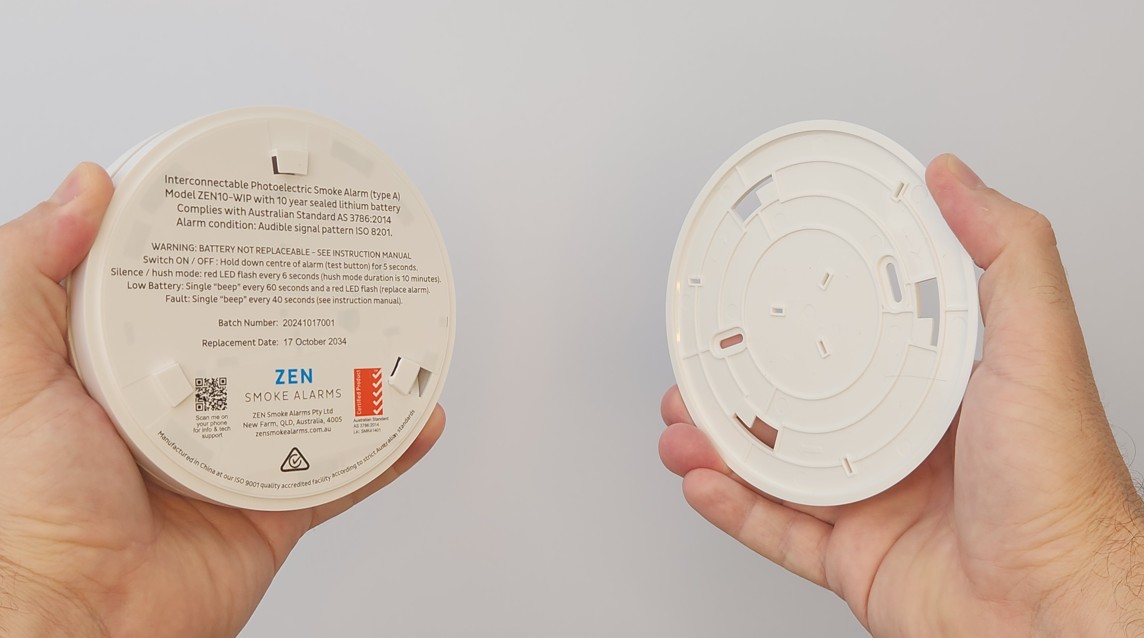
STEP 1: Twist the mounting bracket to remove it from the rear of the ZEN Smoke Alarm.
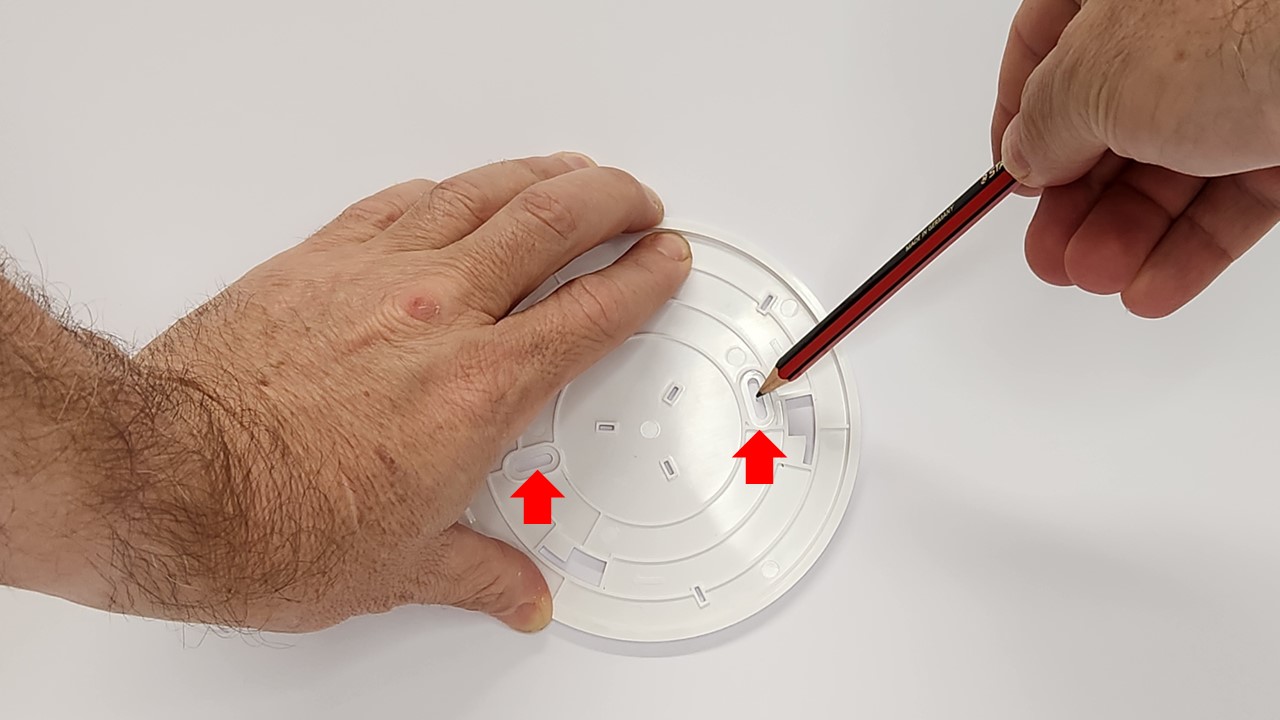
STEP 2: Use a pencil to mark the location of the two mounting bracket slots on the ceiling position.
STEP 3: Use a 5mm drill bit to drill a pilot hole at each pencil location marked on the ceiling. Now insert an anchor plug into each pilot hole and use the two screws to affix the mounting bracket to the chosen position.
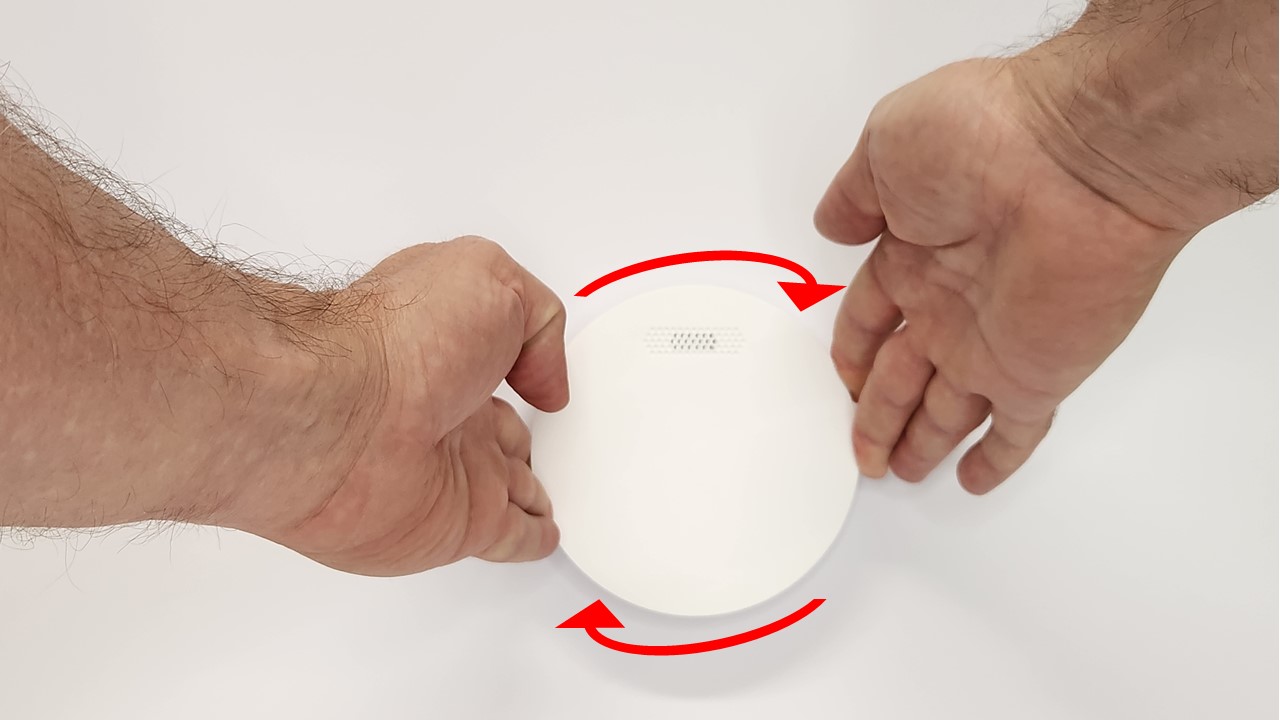
STEP 4: Press the ZEN Smoke Alarm to the mounting bracket and gently rotate clockwise to lock it in place onto the bracket.
STEP 5: Push the surface of the ZEN Smoke Alarm (test button) to ensure it is working properly. If you have more than one interconnected smoke detector, then the others in the same group will also activate within approximately 10 seconds (this is normal). Allow all the interconnected ZEN Smoke Alarms to finish their full test cycle without pressing any other buttons – they will all stop automatically after approximately 10 seconds.
Where Should I Install
Wireless Interconnected Photoelectric ZEN Smoke Alarms?
Interconnected photoelectric ZEN Smoke Alarms should be placed inside every bedroom and the interconnecting hallway outside the bedrooms – if there is no common hallway outside the bedrooms then install a smoke alarm on the nearest route of exit or travel path from the dwelling. If it is a multi-story dwelling then there must be at least one photoelectric smoke alarm installed on every level of the property.
Additionally, photoelectric smoke detectors should not be installed within 30cm from the edge of a wall, within 30cm from a light fixture, 40cm from an air con vent and also within 40cm from a ceiling fan blade. It is preferable to install smoke detectors on the ceiling, as opposed to the wall.
Don’t forget – refer to your state legislation. Queensland smoke alarms laws state if an existing 240V hardwired smoke alarm is to be replaced, then it must be replaced with another 240V hardwired photoelectric smoke alarm (requires an electrician).
WARNING – Do Not Use These Products
When Installing Your ZEN Smoke Alarms!
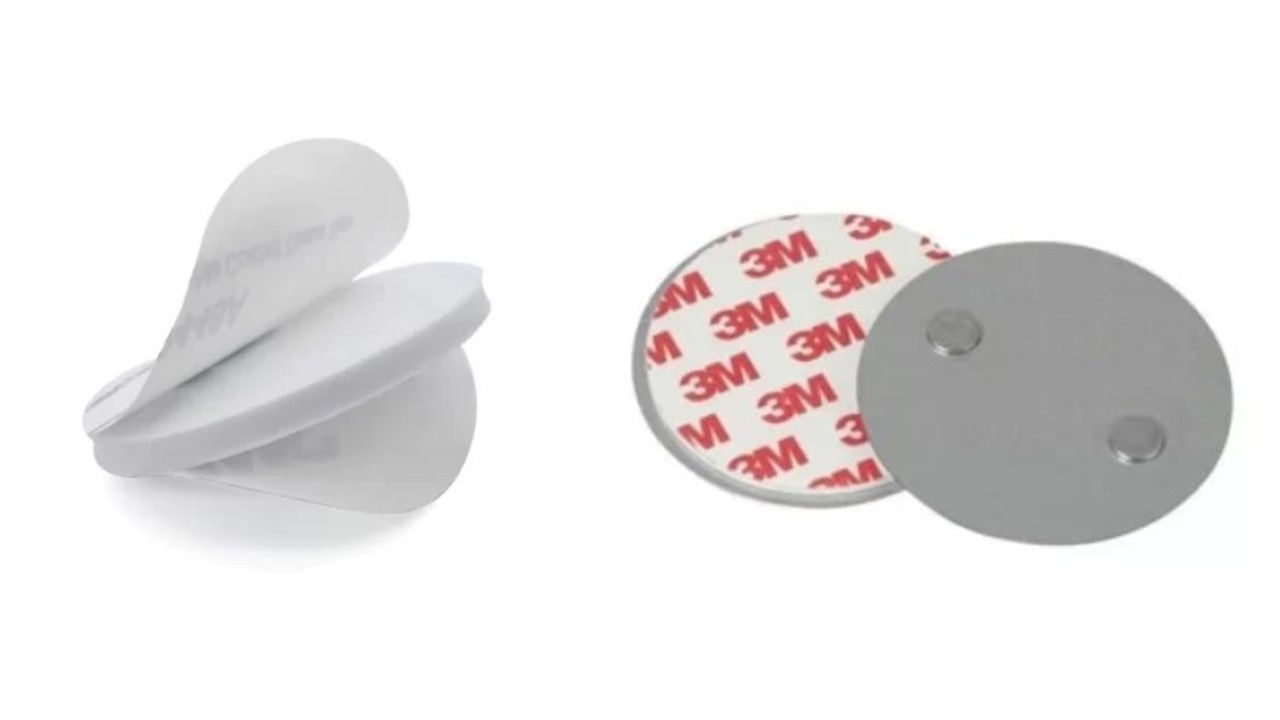
Be extremely wary using adhesive mounting kits or drill-free magnet mounting kits with your smoke alarms – we do not recommend using these products as they do NOT last. Whilst Australian Standard 3786:2014 doesn’t specify how smoke alarms should be attached to the ceiling, if you use the aforementioned products your smoke alarm will fall from the ceiling after a period of days, weeks or months, and it will become damaged when it smashes onto the floor.
How do we know this? – we stopped selling the adhesive kits / magnetic mounts several years ago. Consumer feedback indicated the products were unreliable, and in good conscience we could not continue selling them – we’d rather have happy satisfied customers at the expense of profits. Spend a few extra minutes and use the included screws to affix your ZEN Smoke Alarms to the ceiling – this is definetely the best way to install your wireless photoelectric smoke alarms.

Want to know more? Watch our ZEN Smoke Alarm YouTube channel or call us on 0478 596 402 today
We love talking smoke alarms!
ZEN Photoelectric Smoke Alarms
New Farm, QLD, 4005